


The terms Surveillance, Security and Spy are interrelated. Why are we saying that? Well, that’s because recently we got a device that helped us secure our office, spy on whose doing what while we were away and it was our choice of surveillance tool.
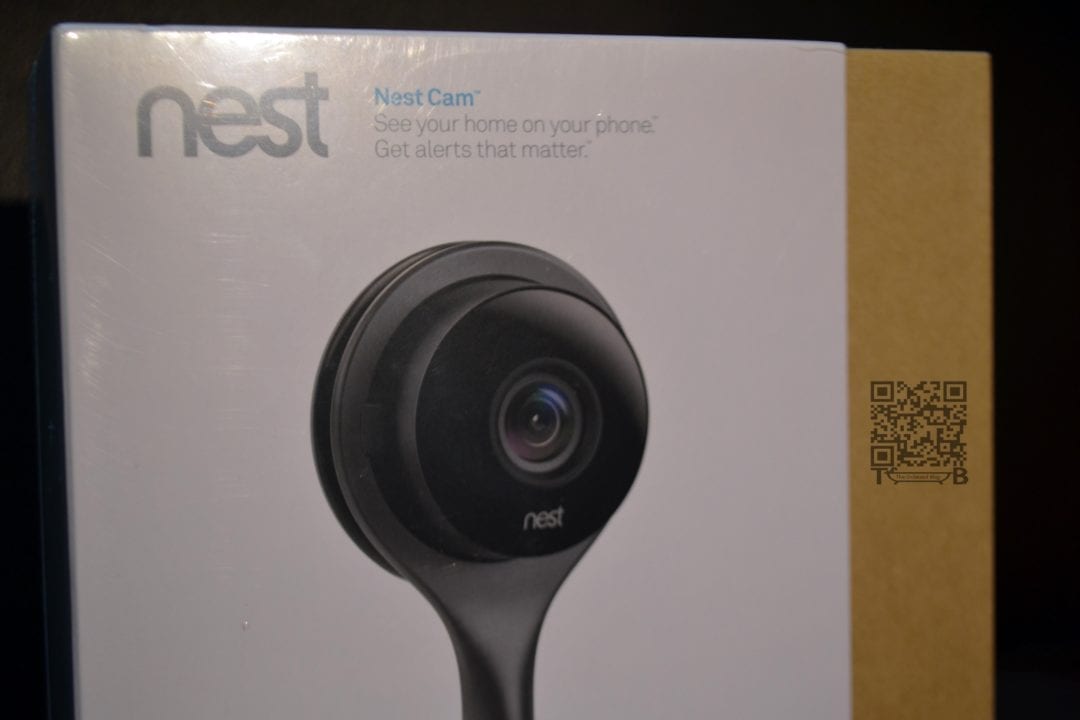
So what became our surveillance tool of choice? The Nest Cam, that comes from the company that churned out the high-res DIY security cam Dropcam & Dropcam Pro. Then later known for being the smart-thermostat maker that was acquired by Nest, Google Inc.
So, what did Google do to Dropcam Pro to make Nest Cam live up to its legacy of high-res DIY security cam and at the same time stay ahead of the competition? Google kept the price tag of $200 intact but added a full HD (1080p) video resolution, added a rotating magnetic stand and rebuilt the app. But does that make it the best DIY security cam out there? Well let’s find out in our review of the Nest Cam.

Hardware
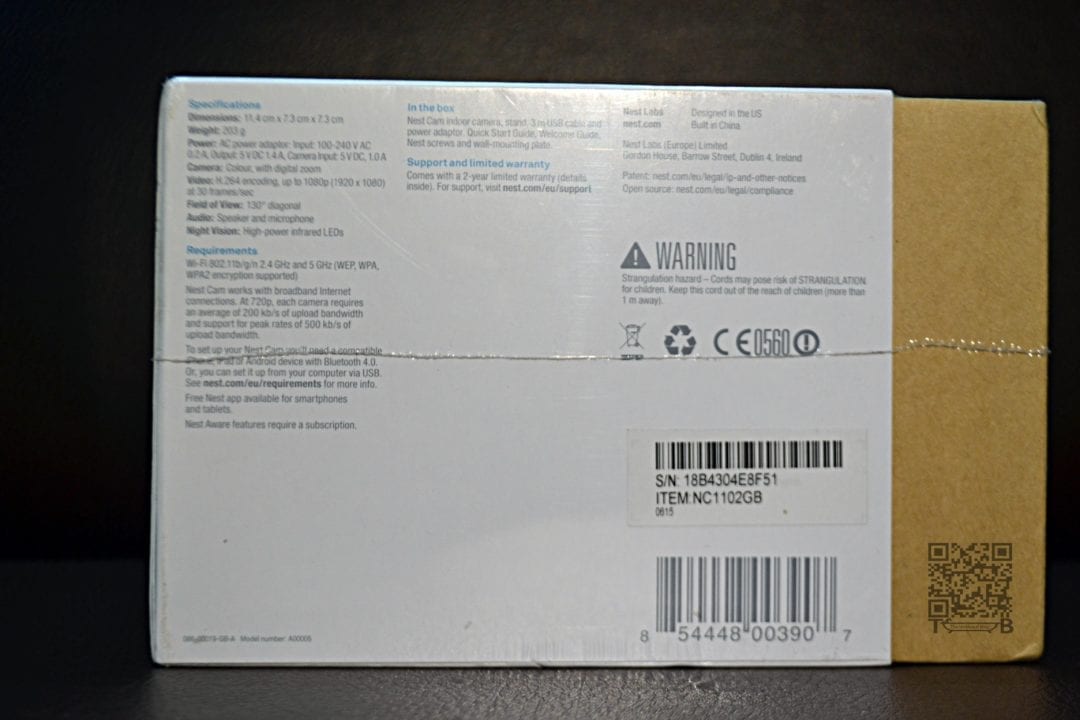
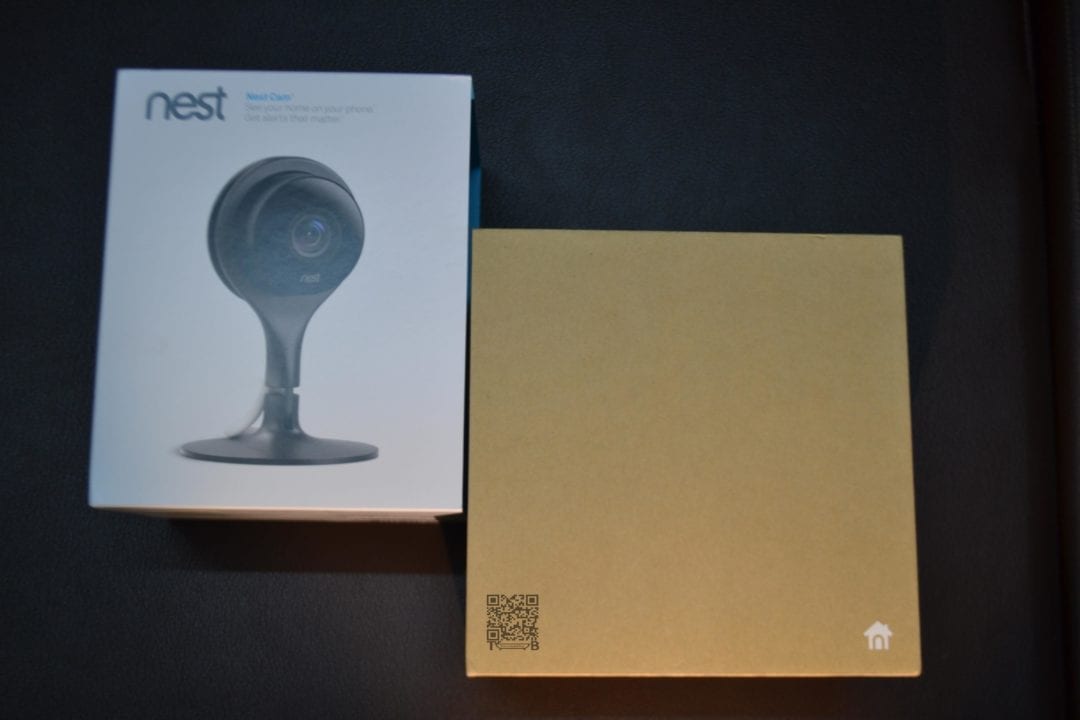
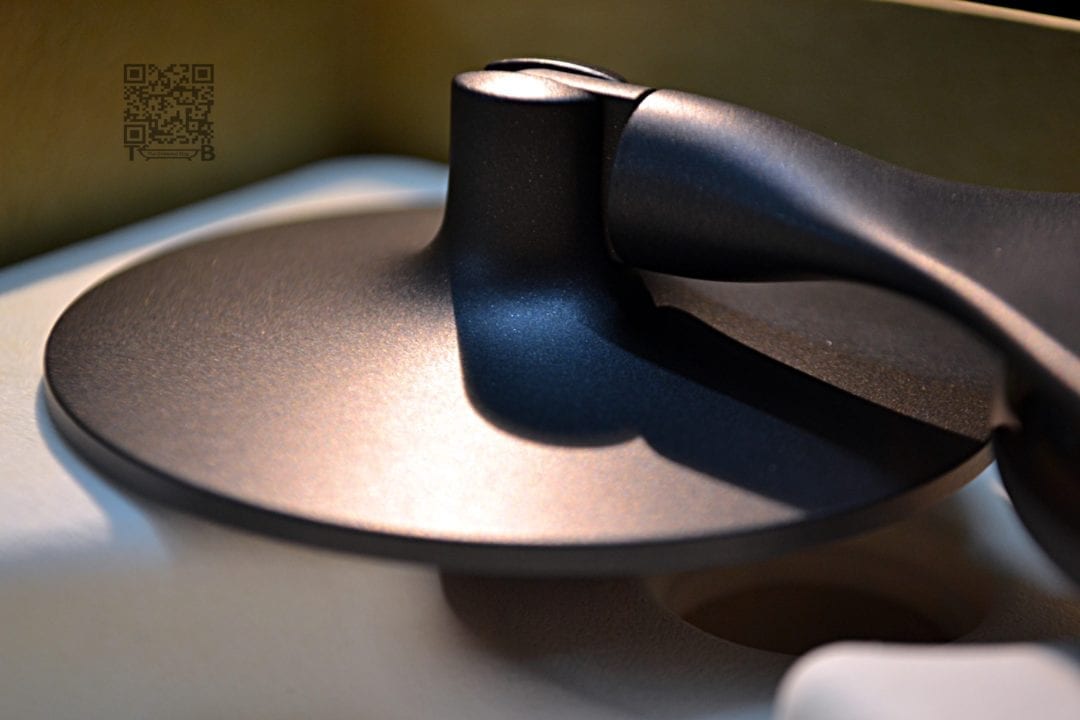
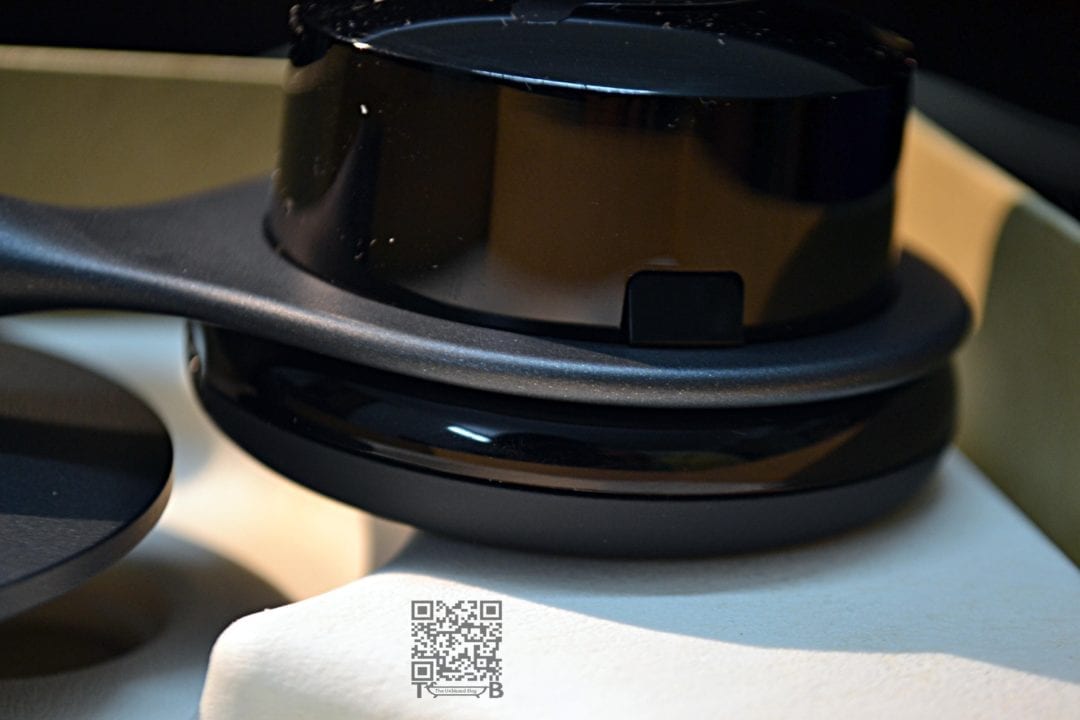
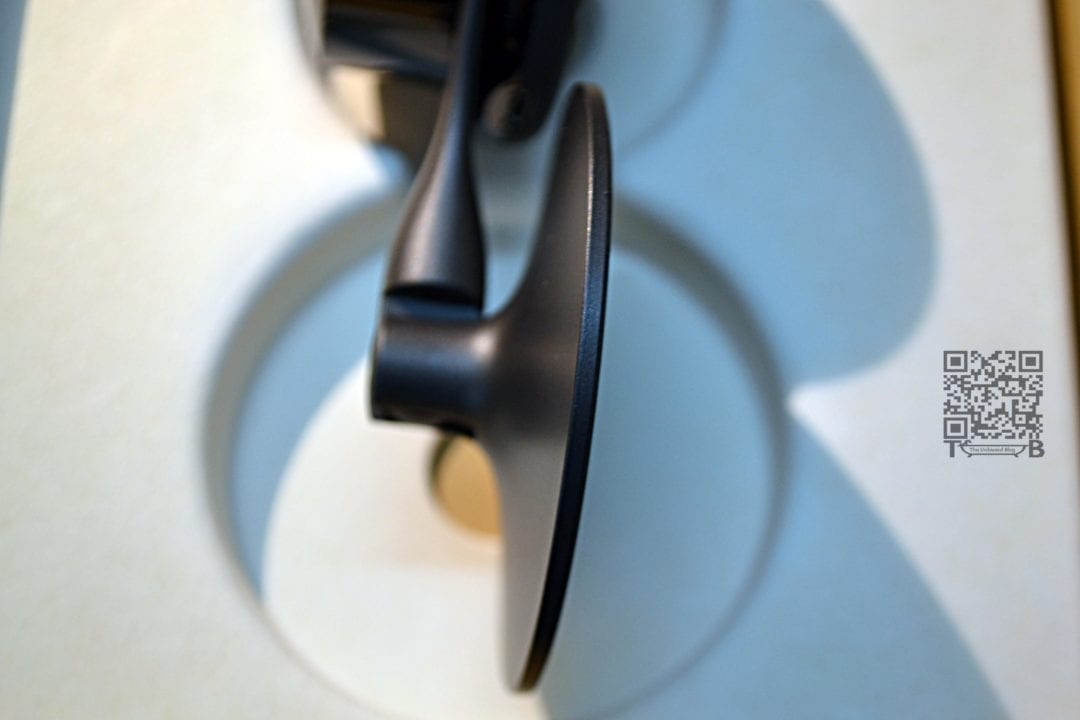
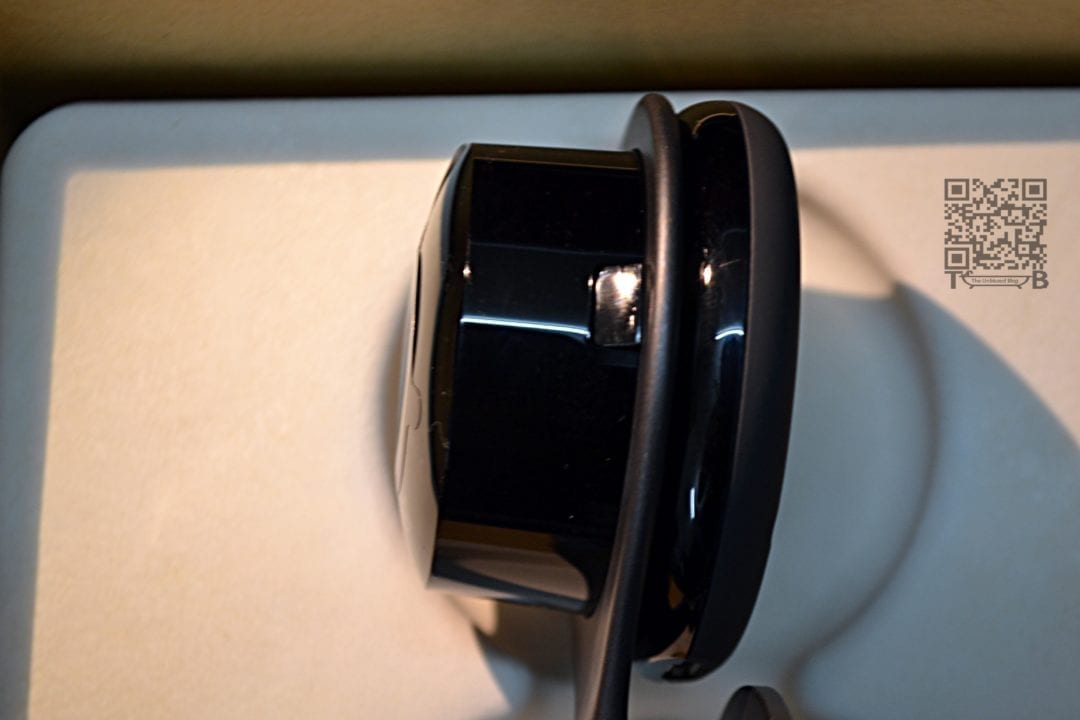
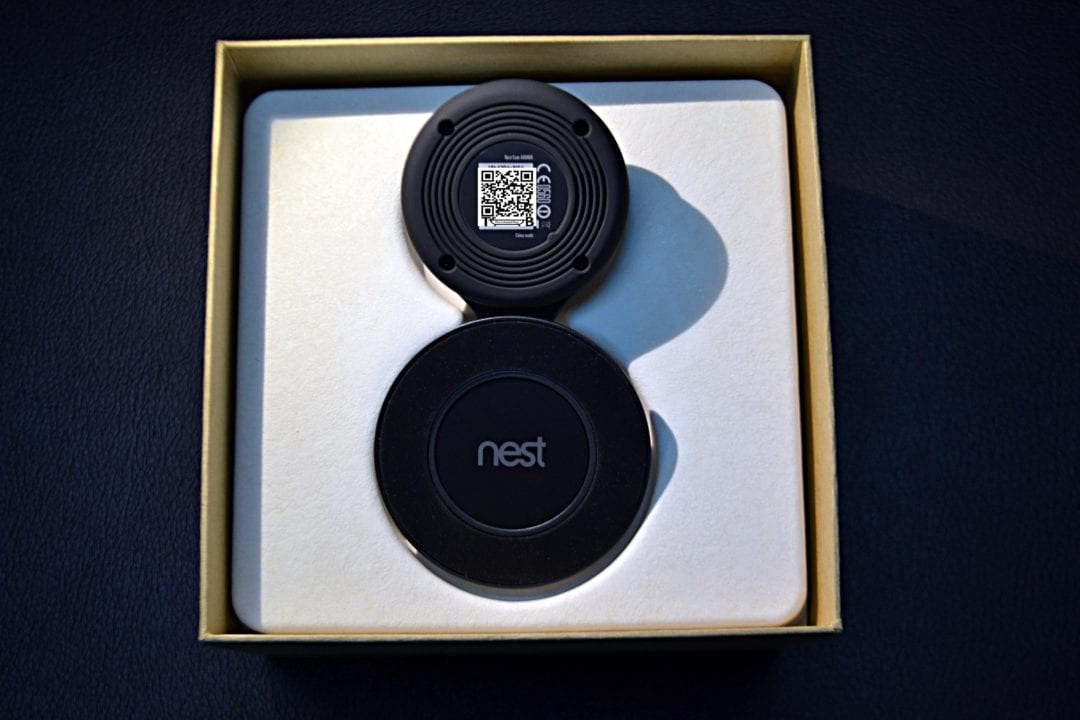
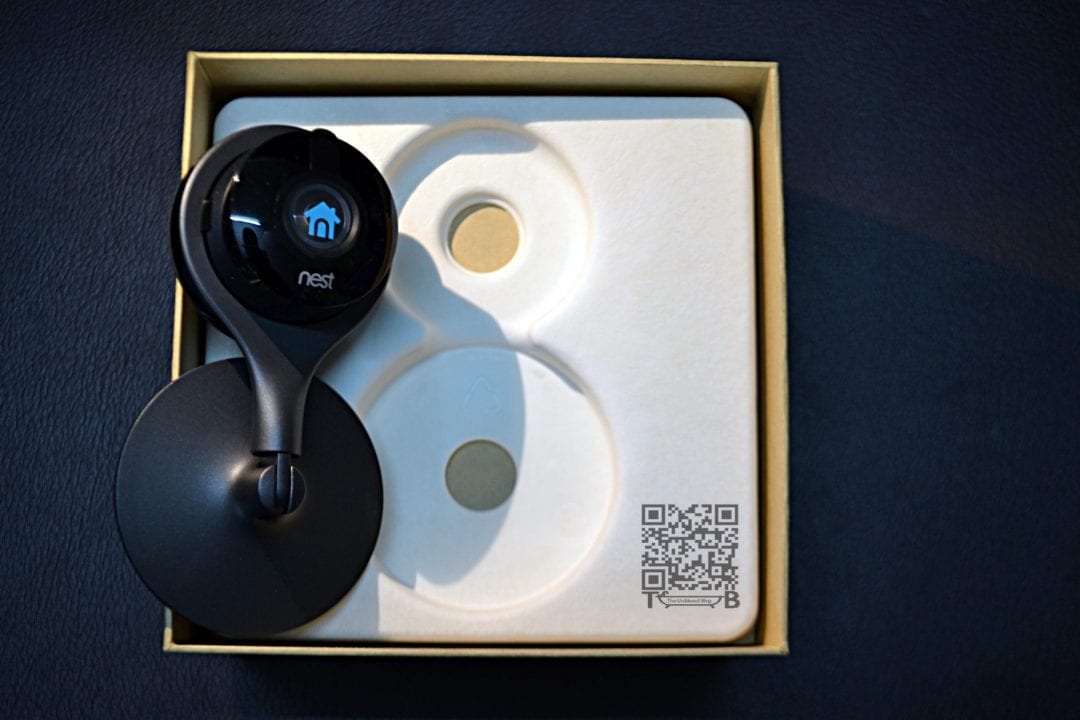
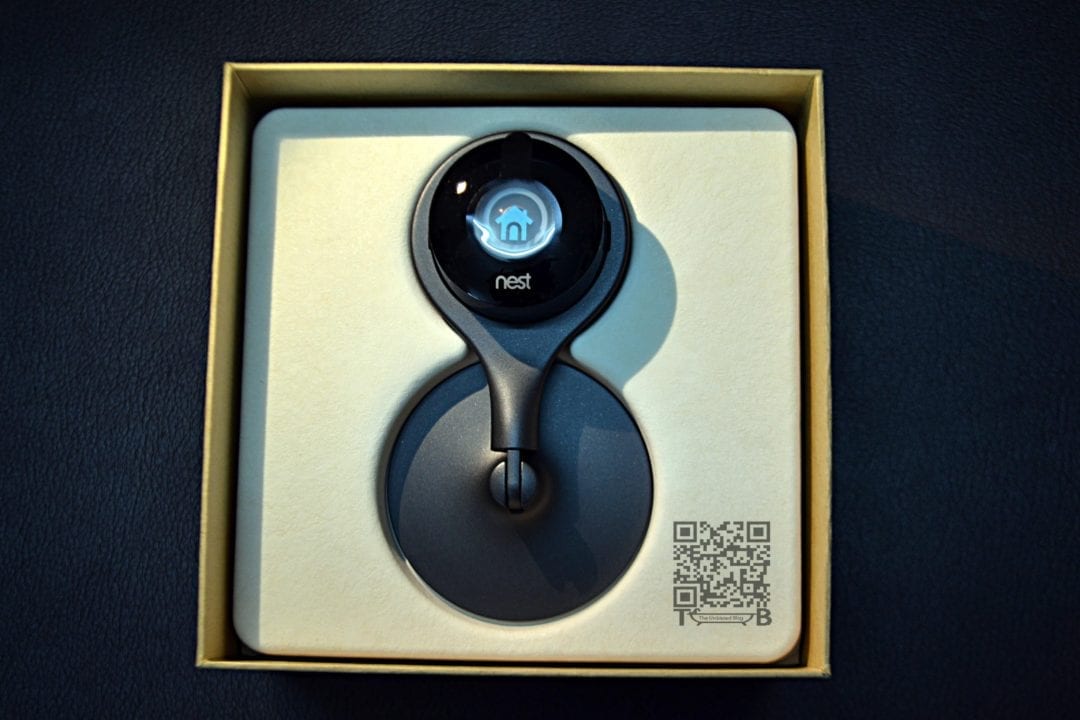
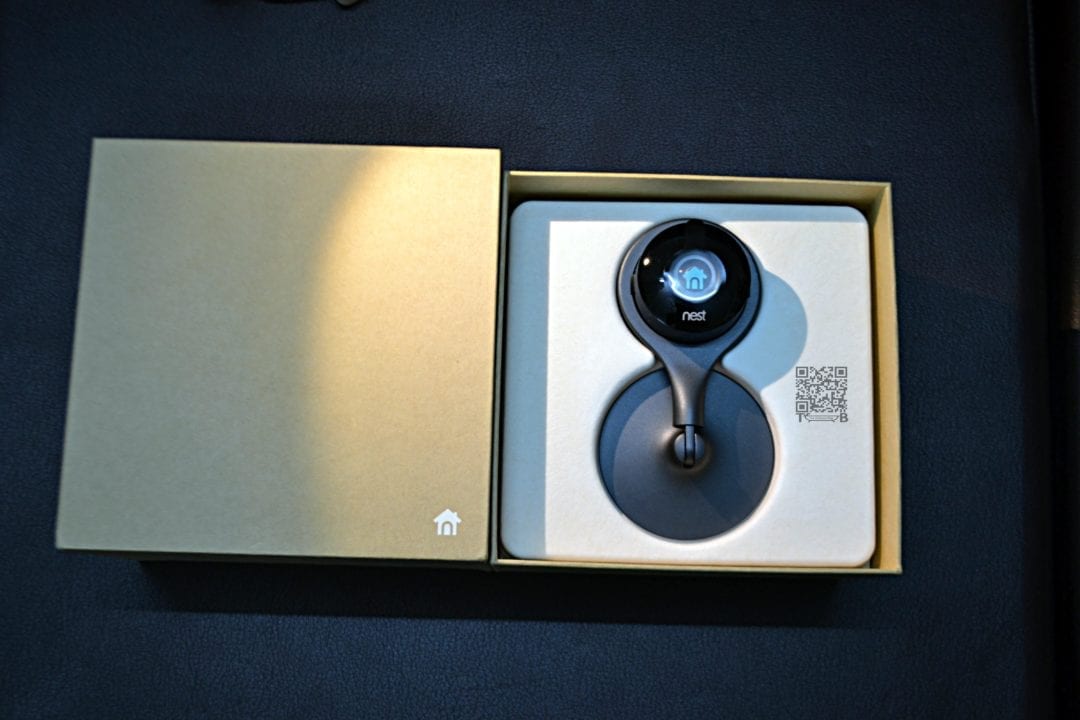
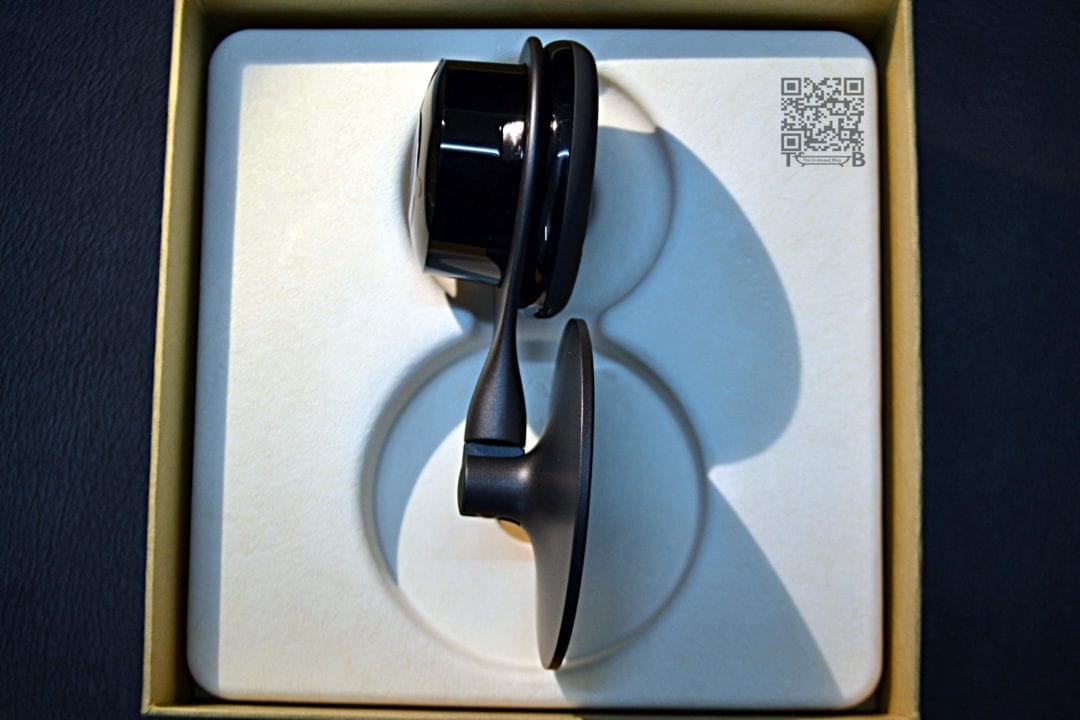
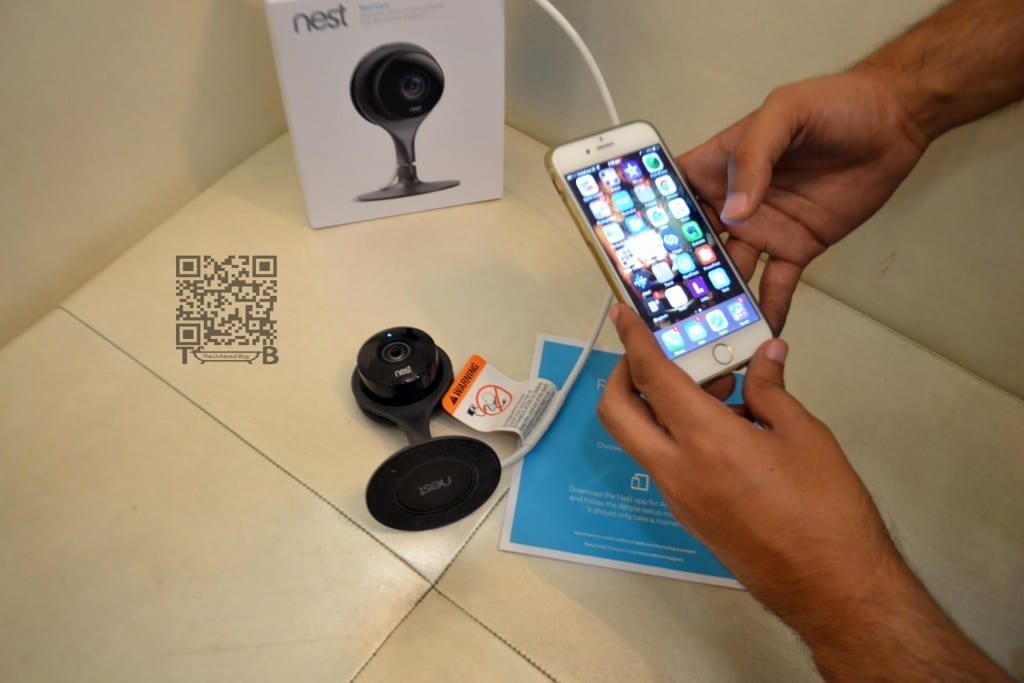
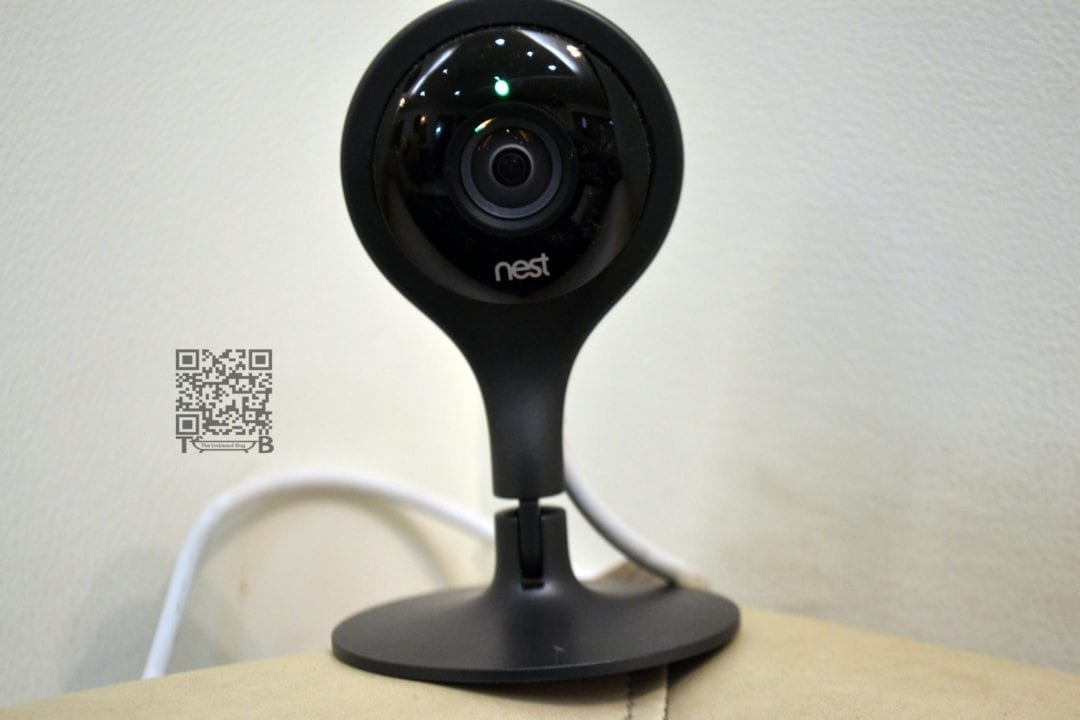
Nest Cam is a very intriguing little piece of hardware with a lot of features. In the box are a white 9.7-foot USB cable, a power adapter, and a Quick Start Guide. It comes with a pedestal-style stand that allows you to swivel the camera 360 degrees and fold it 180 degrees making it more easy to install the camera and optimize its angle. It measures 4.5″ H by 2.8″ W by 2.8″ W and has a magnetic base for easy mounting on a metal surface. The camera can be unscrewed and mounted on a tripod, and comes with a wall mounting bracket and screws. In fact, you can remove the camera from the stand and its premium black finish adds to your decor.

Getting into the nitty gritty, Nest Cam uses a 3MP sensor to deliver 1080p video at 30 frames per second and contains built-in dual-band 802.11n and Bluetooth 4.0. It has a very wide angle 130-degree field of view, an 8x digital zoom, and eight infrared LEDs for night vision capture.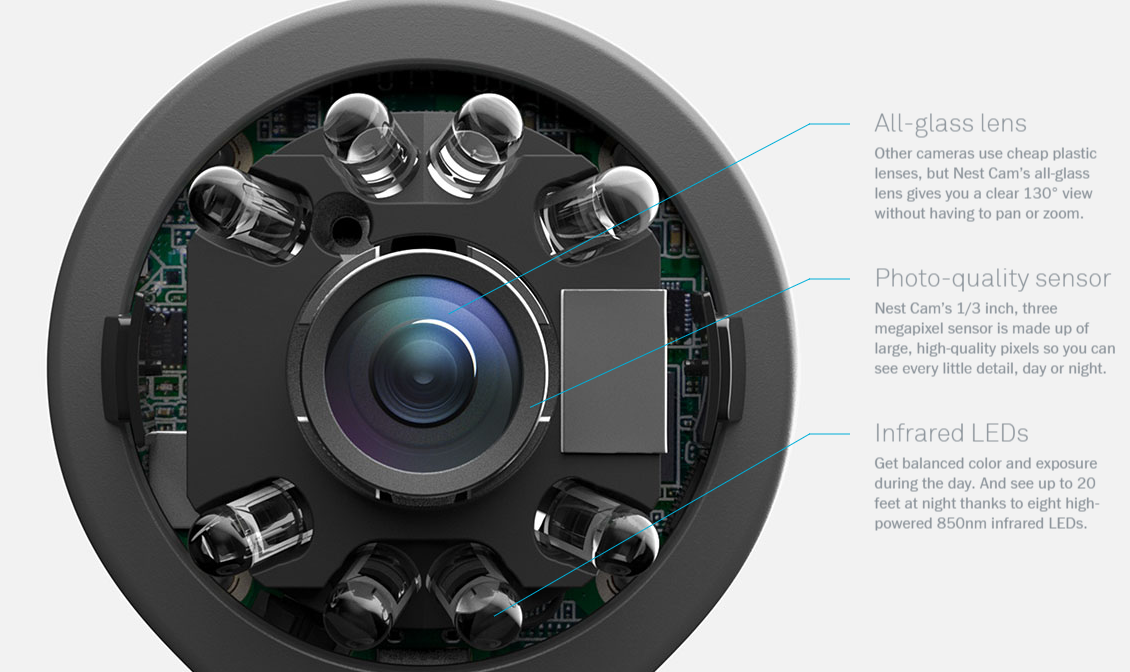
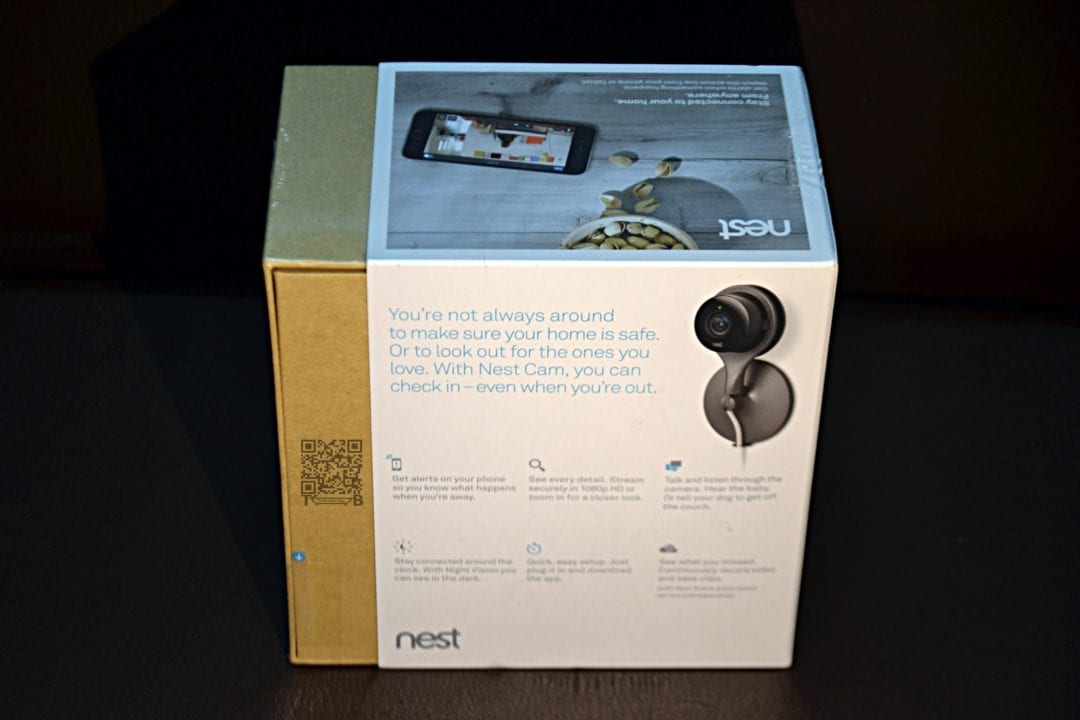
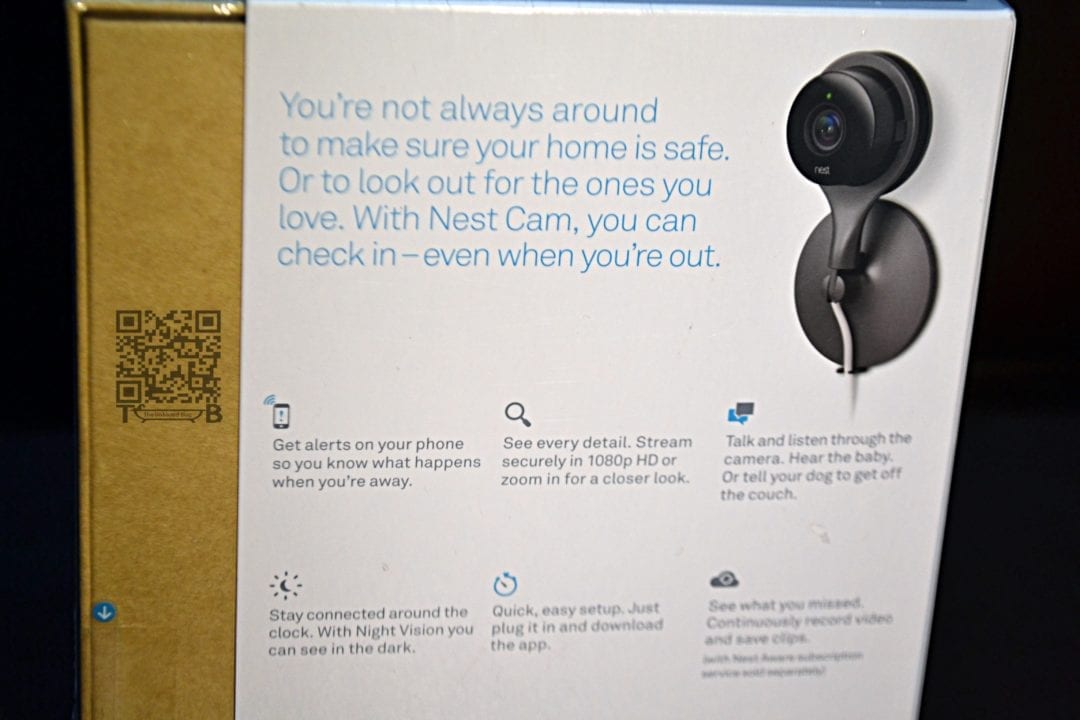
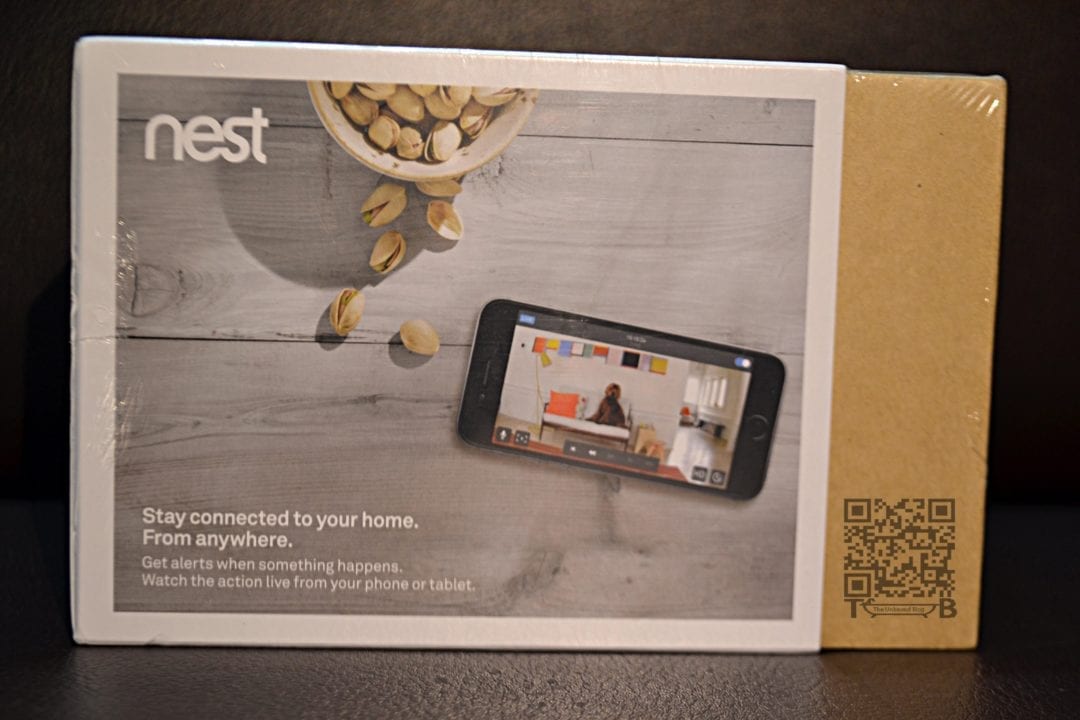
Also there is a small status light at the top of the camera glows solid green when the camera is on, blinks green when someone is watching, and when someone is talking through the speaker it blinks blue. But we have switched it off from the app for stealth surveillance purpose. With the Nest Cam you don’t have to be glued to your smartphone, tablet or PC to keep an eye on what’s happening. It has built-in motion and sound sensors that will trigger video recordings and push notifications, and a mic and speaker for 2-way audio communications from your mobile device. 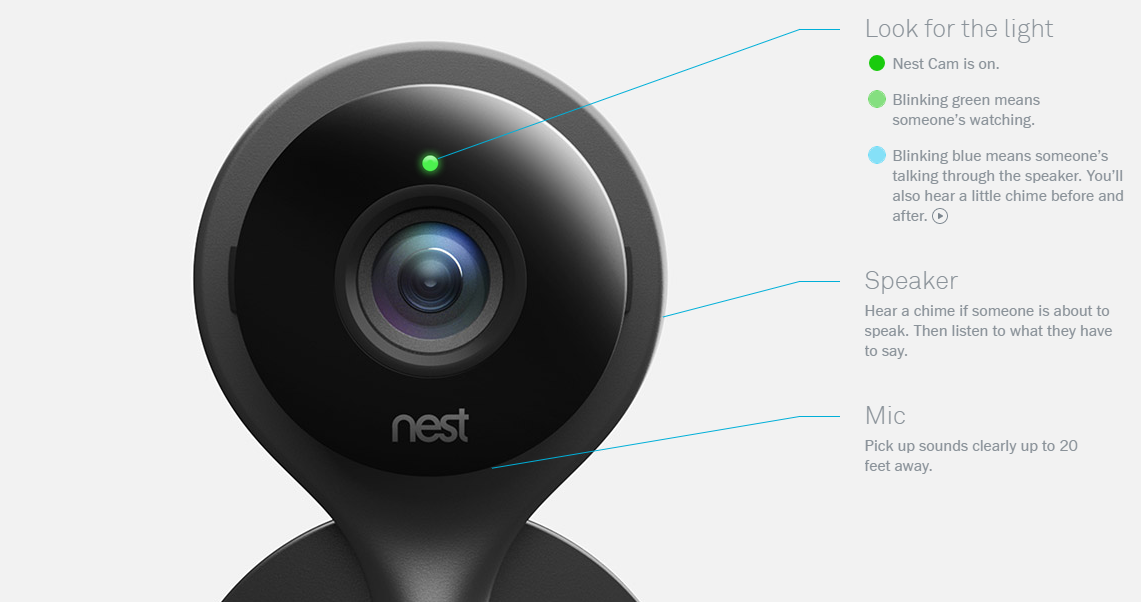
But that doesn’t limit you from watching the live feed whenever and wherever you want to. If you are the paranoid types then you can be the Big Brother and watch it 24×7. You can even order the people in the room like Big Brother does 😉

Software
The Nest Cam gets an app for both iOS and Android users, but if you are still on your BlackBerry or any other OS that’s not supported you can use the Webaccess panel at https://home.nest.com/
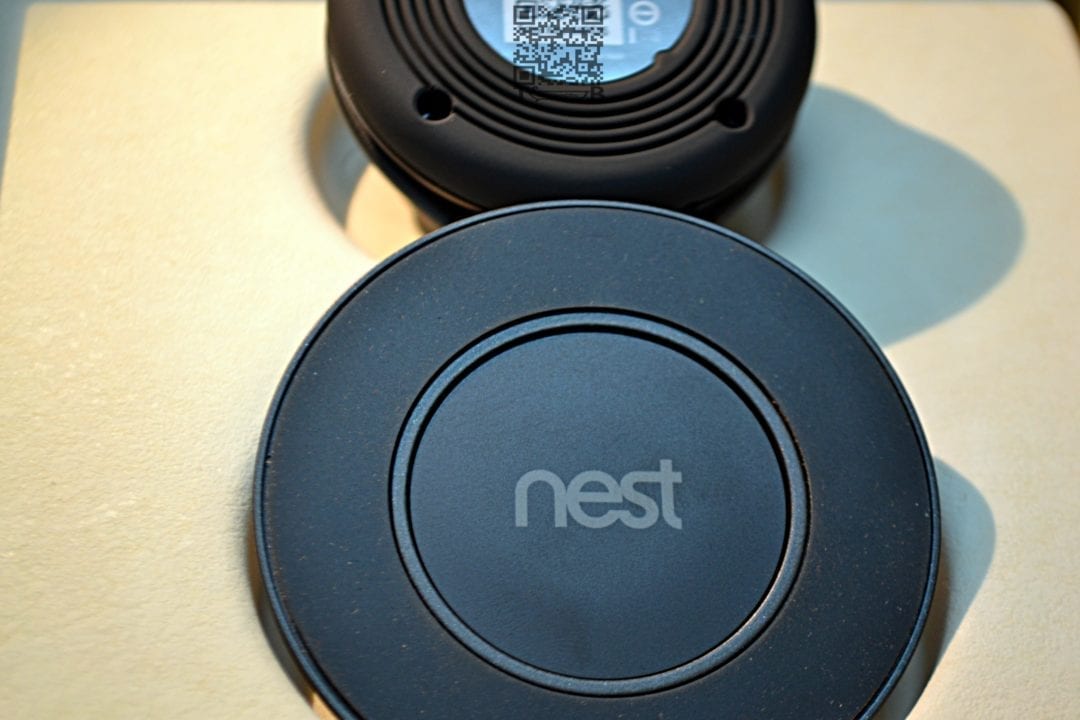
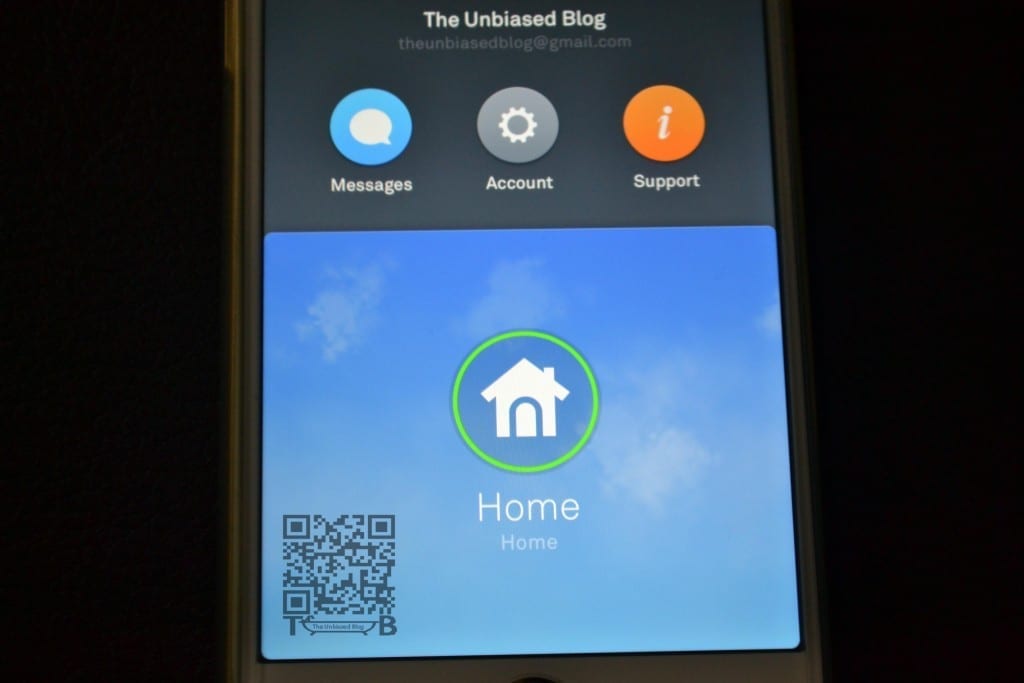
Once you are in the system, you can also control the Nest Protect and the Nest Learning Thermostat or more Nest Cam’s by adding them to your account. The setup is seamless, the app walks you through everything you need to configure your camera, and then scanning the QR code on the back of the camera and entering in local Wi-Fi details. Now this may sound like a lot but it hardly takes a minute to set it up once you have the app downloaded and installed on your device.

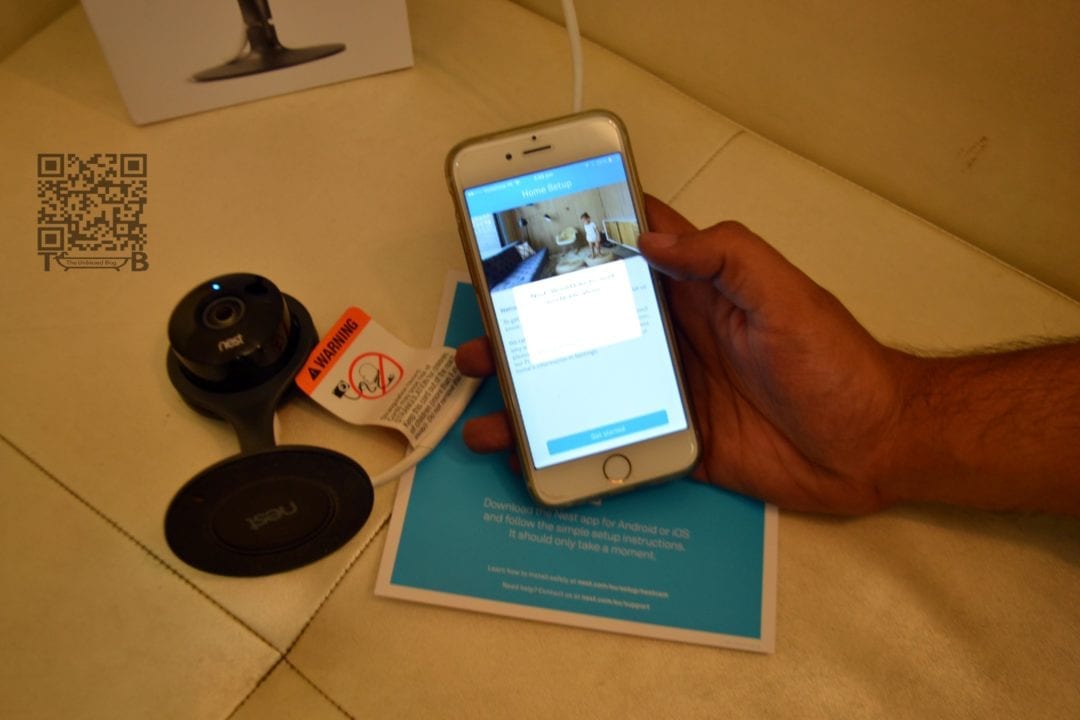
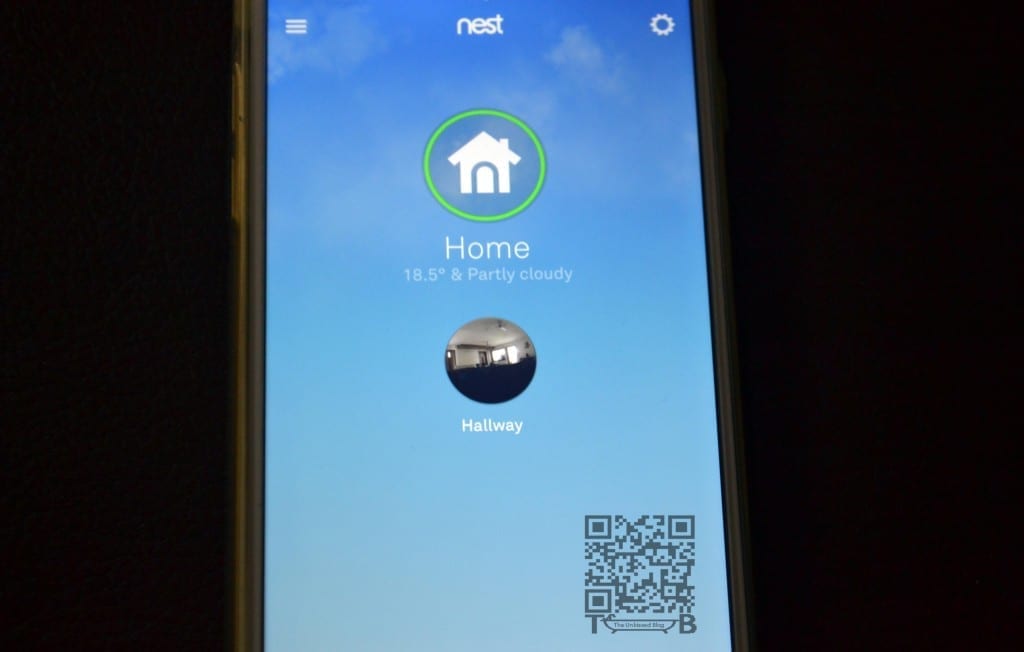
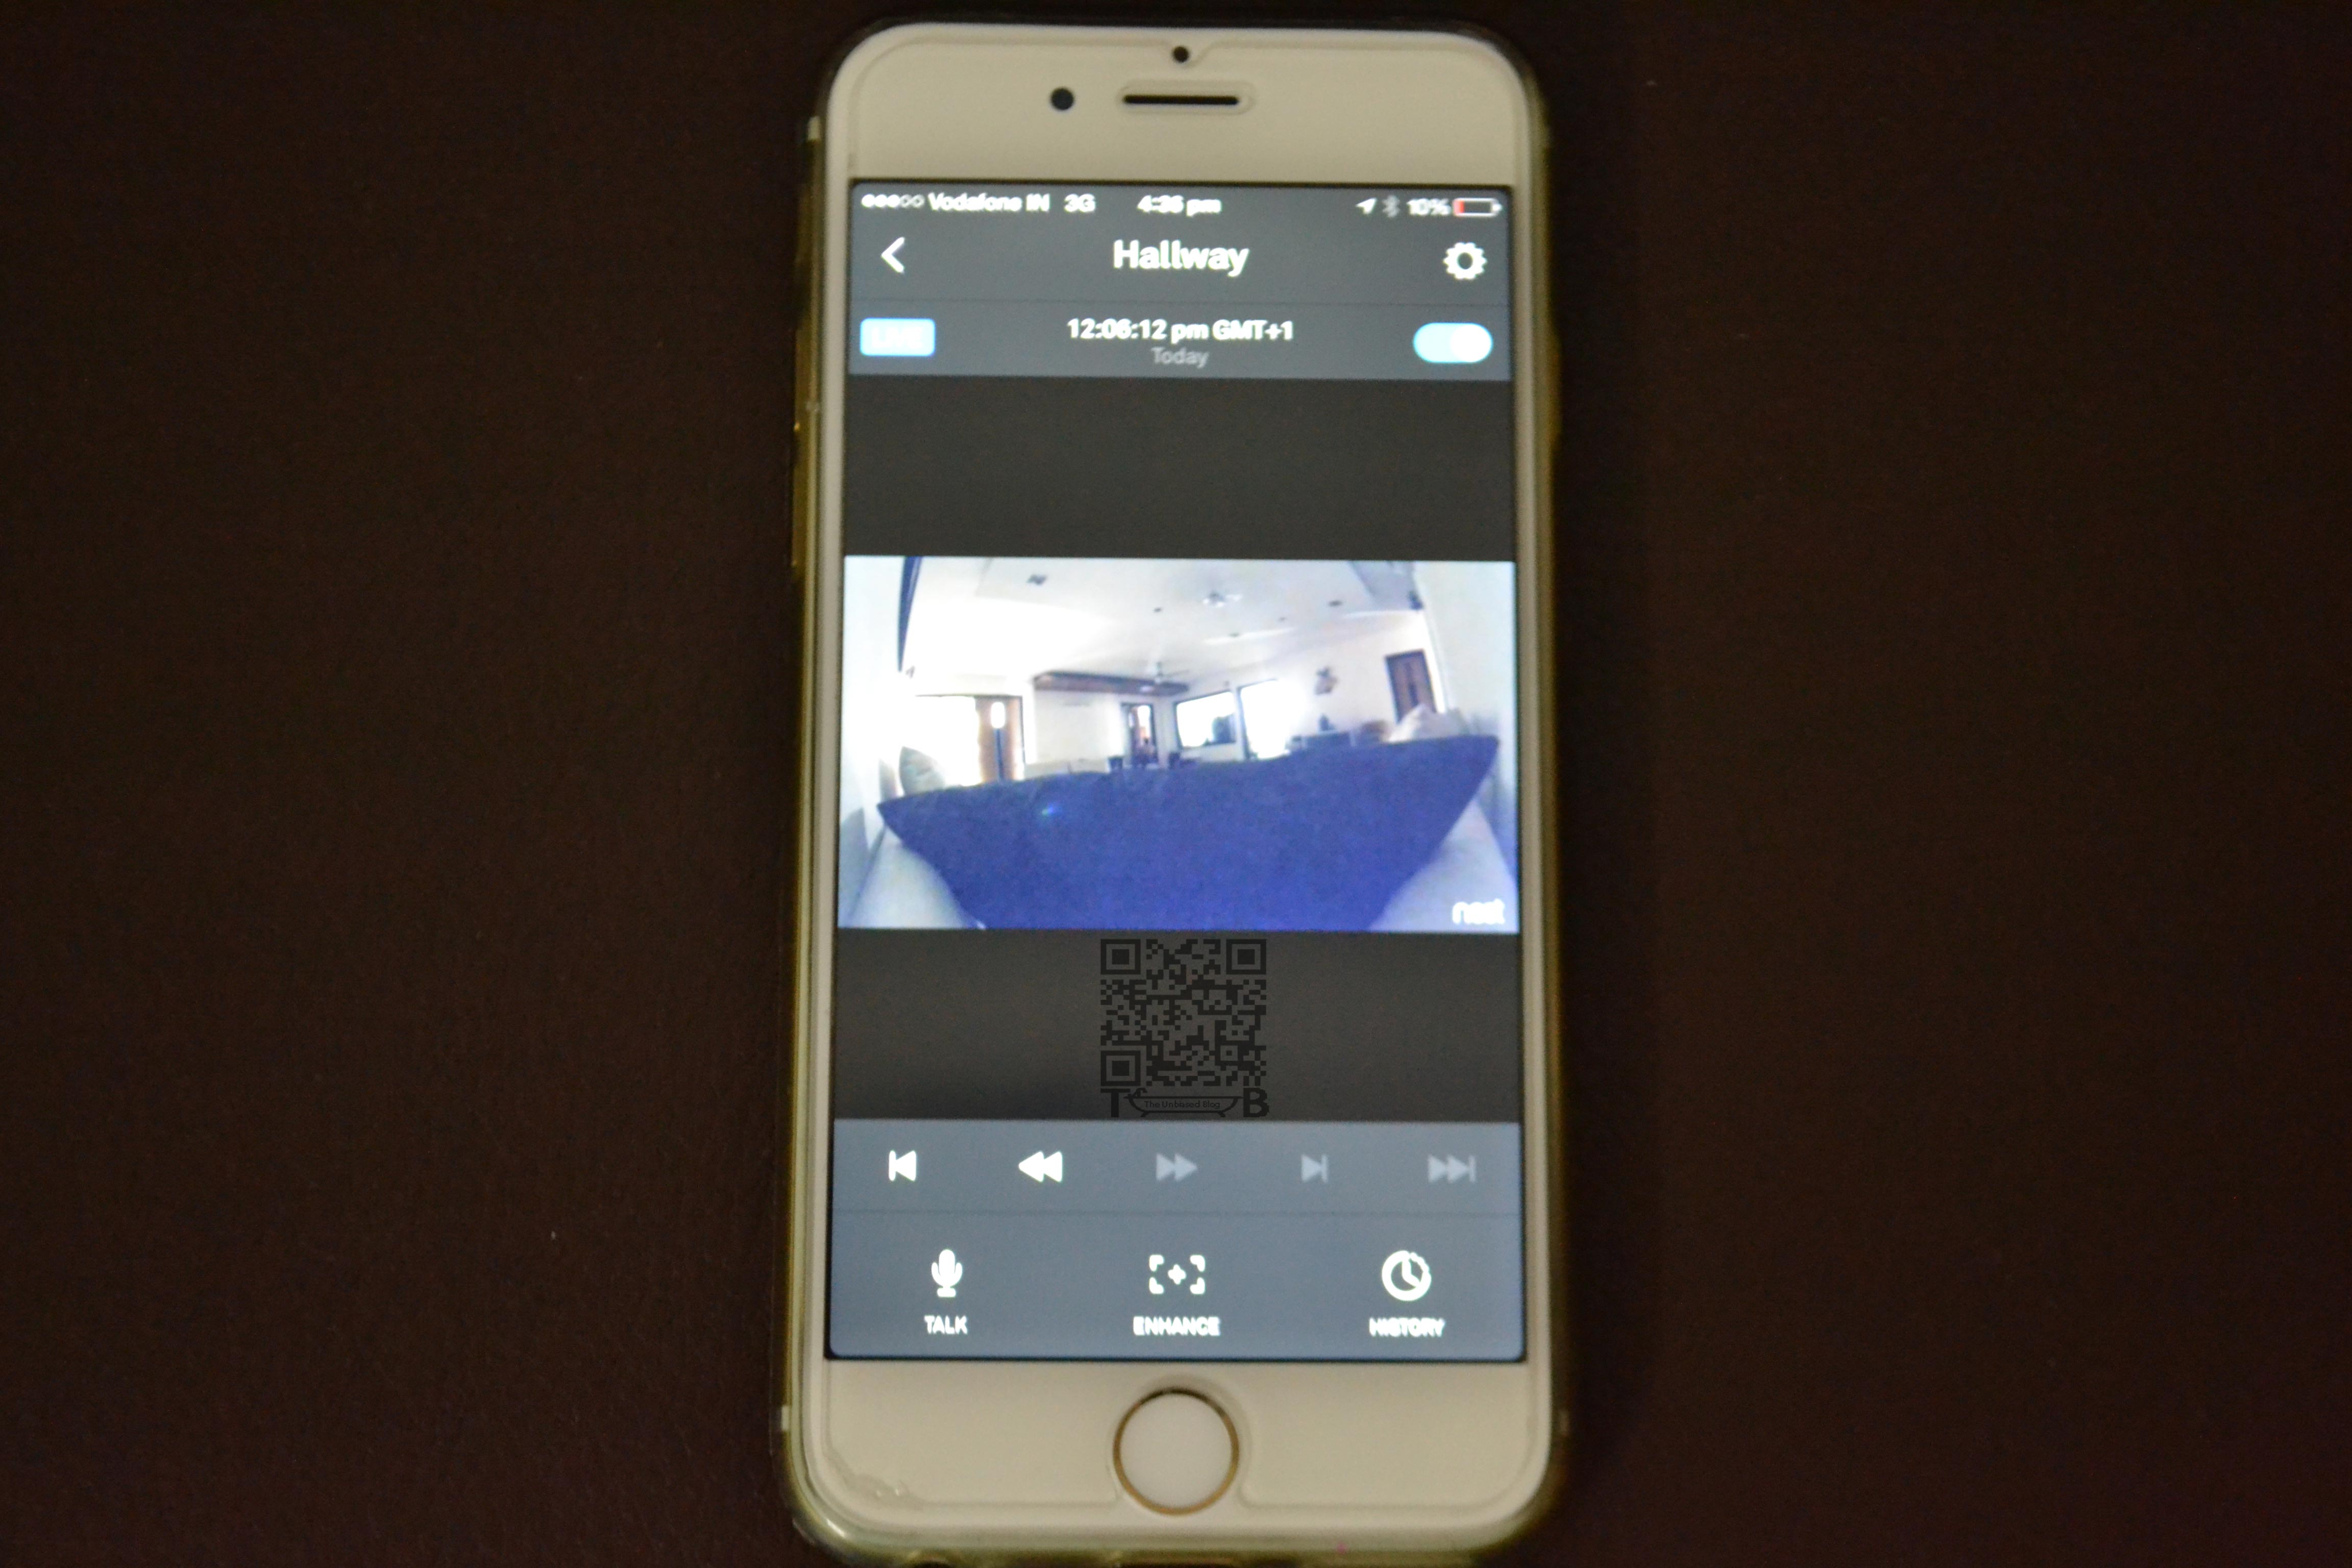
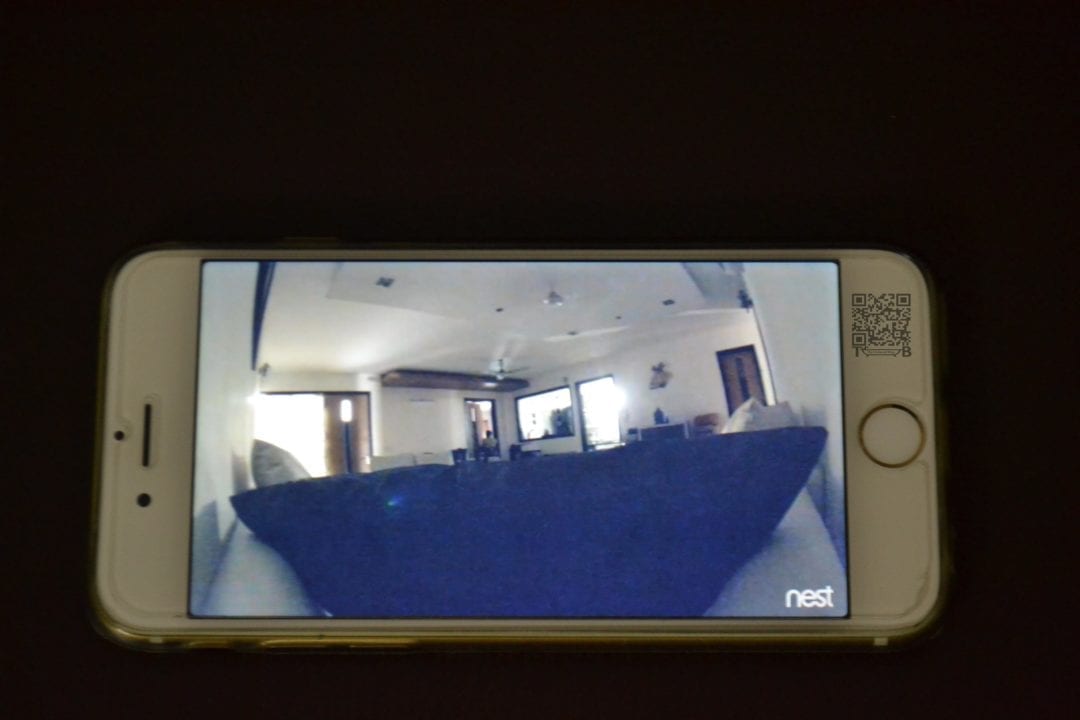
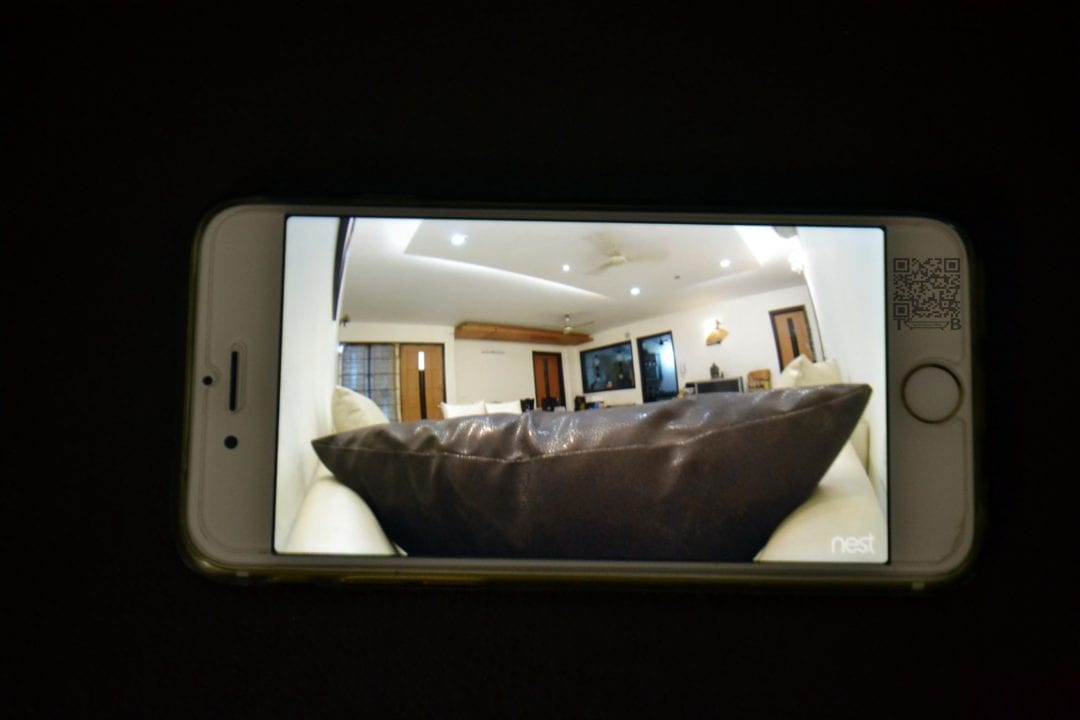
To get started you will have to launch the app, to access home screen. In the home screen you will have access to the live feed and the temperature of your city. Clicking on the camera icon launches the live stream with the current time of day at the top of the screen and Forward, Reverse, and Play buttons below the live feed. If you want to see recorded videos then you will have to pay for the Nest Aware cloud service.

You will also notice the Mic button, as you would have guessed that’s for communicating with anyone near the camera. Next is Enhance button which is used with the digital zoom feature and to improve the clarity of that area of detail. The History button displays an hourly list of recorded event videos complete with thumbnails.
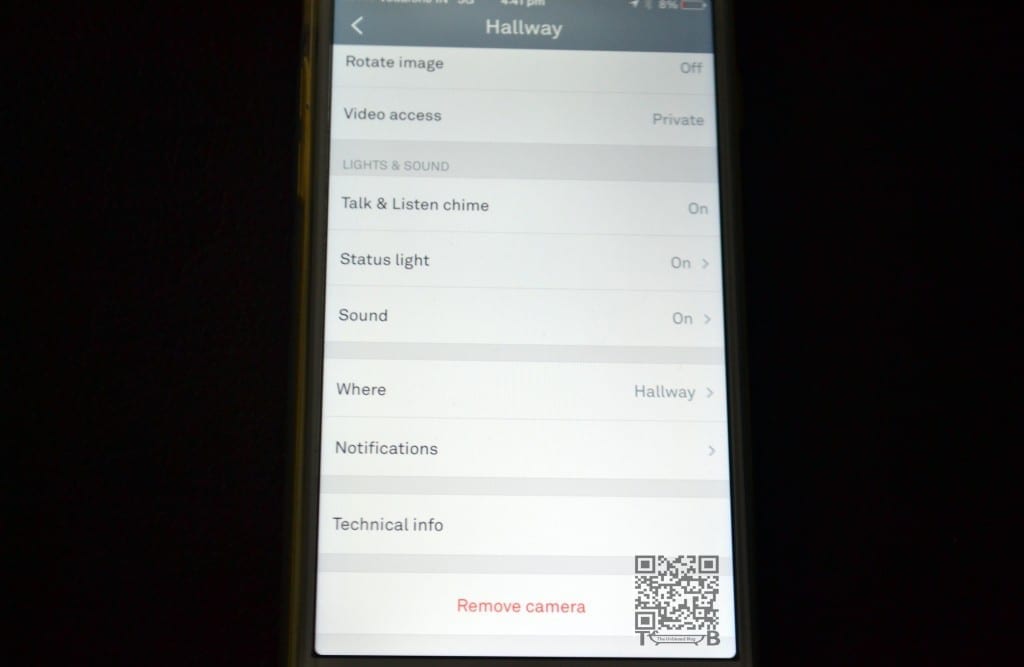
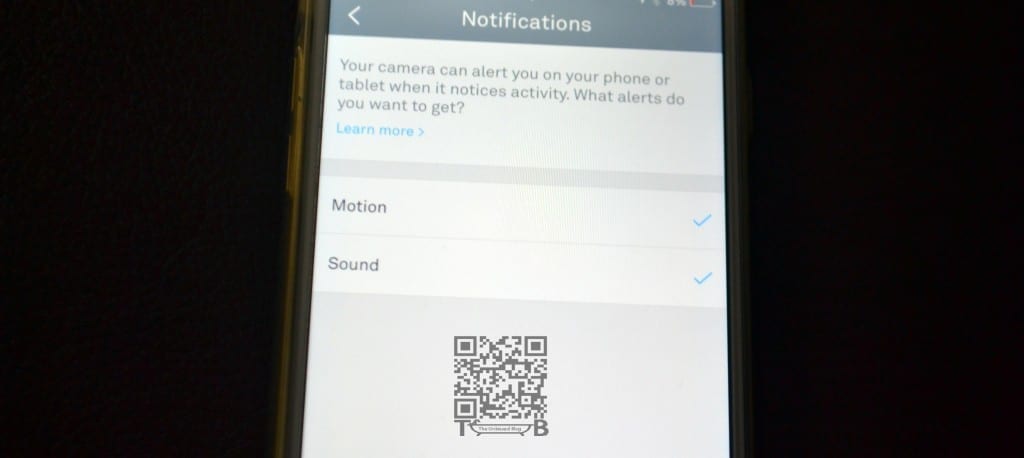
Let’s get into the Settings to see what all can we play around with. You will notice, the On/Off switch, a Home/Away switch that syncs the camera up with the Nest Thermostat, an Image Quality selector (360p, 720p, 1080p), and a Notifications area for enabling motion and sound alerts. There’s also a Video Access setting that lets you keep the camera private or make it public. The Schedule setting lets you control when the camera will turn on and off during the day.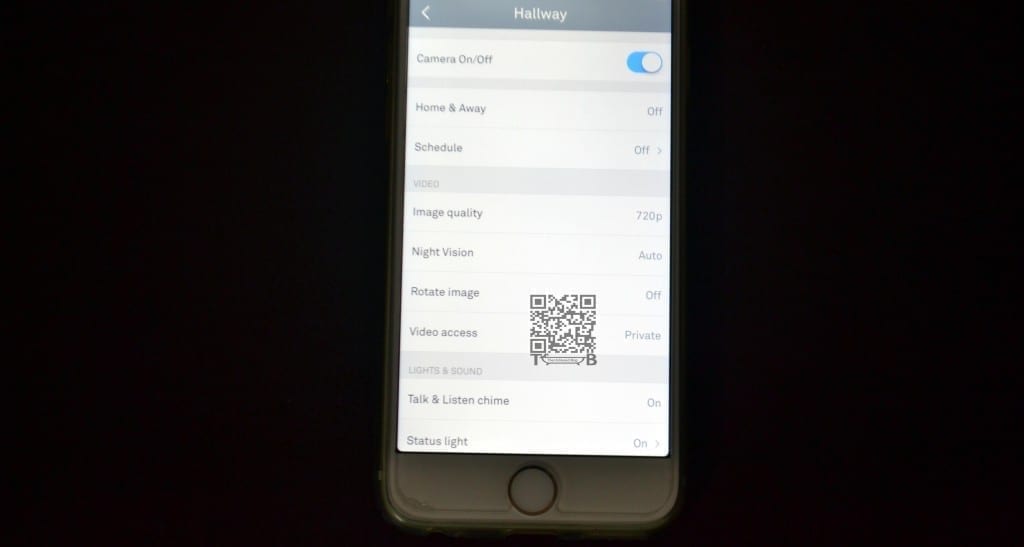


Mounting Setup
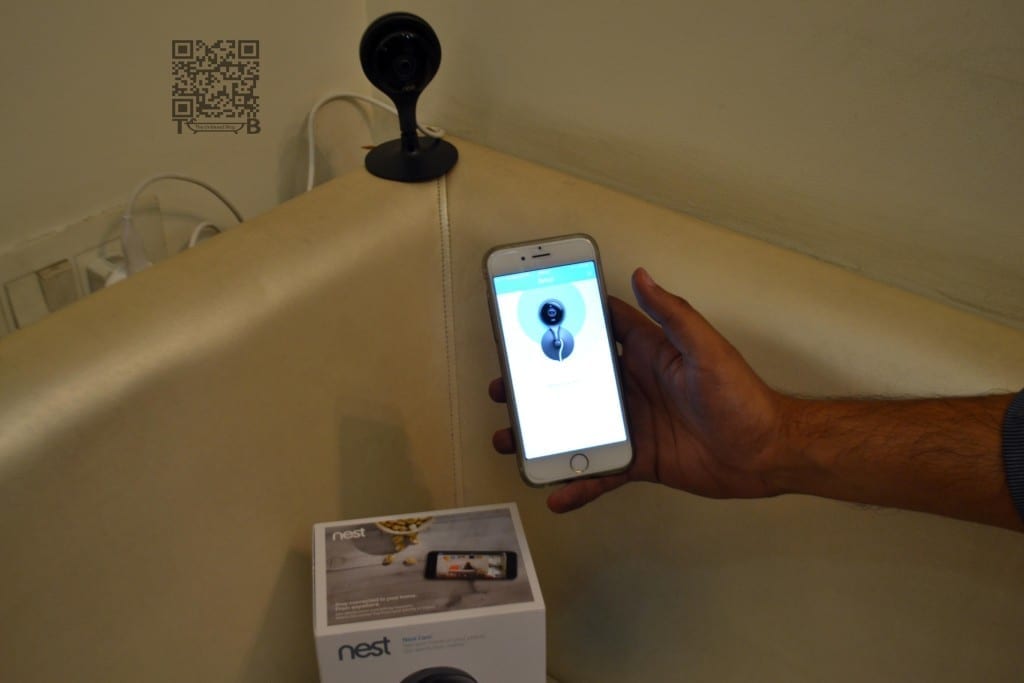
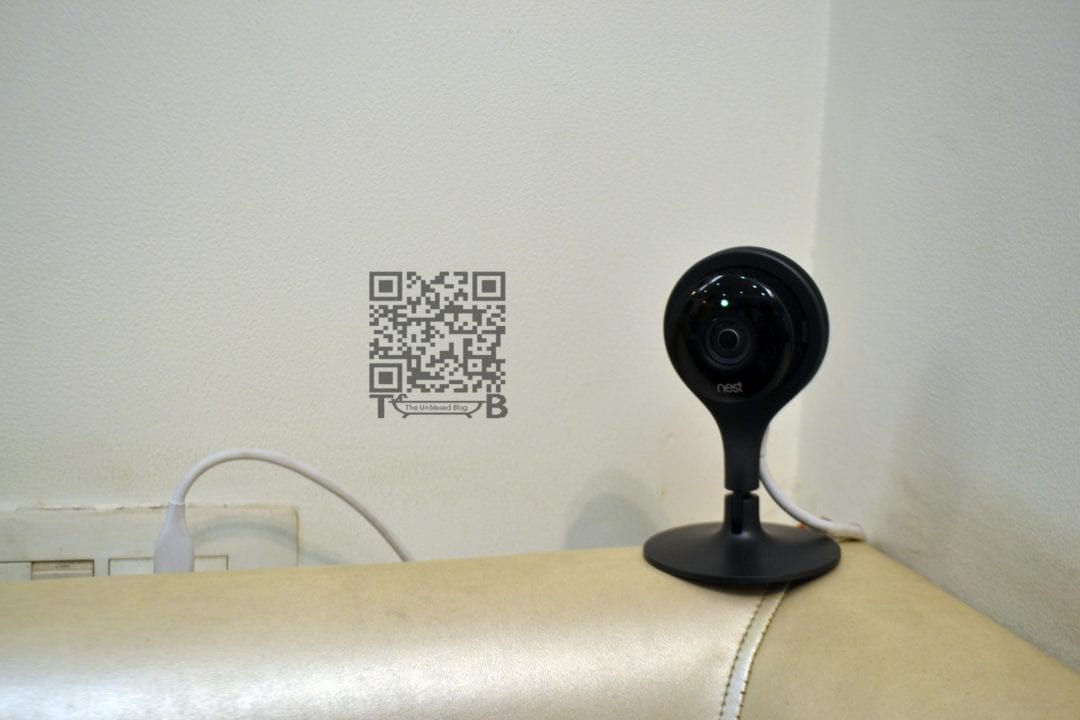
As we mentioned earlier, you can mount the Nest Cam just about anywhere. You can mount it on the wall with the screws provided, you stick its magnetic base on any metal surface or like us you can just place it on a table top in the room. 
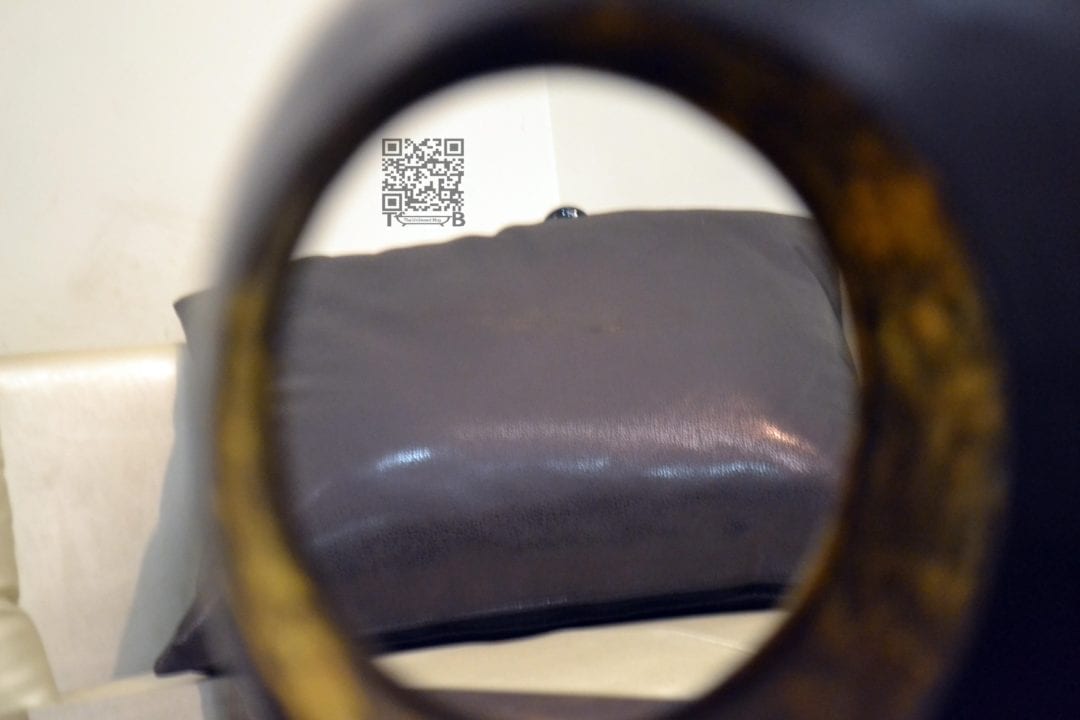
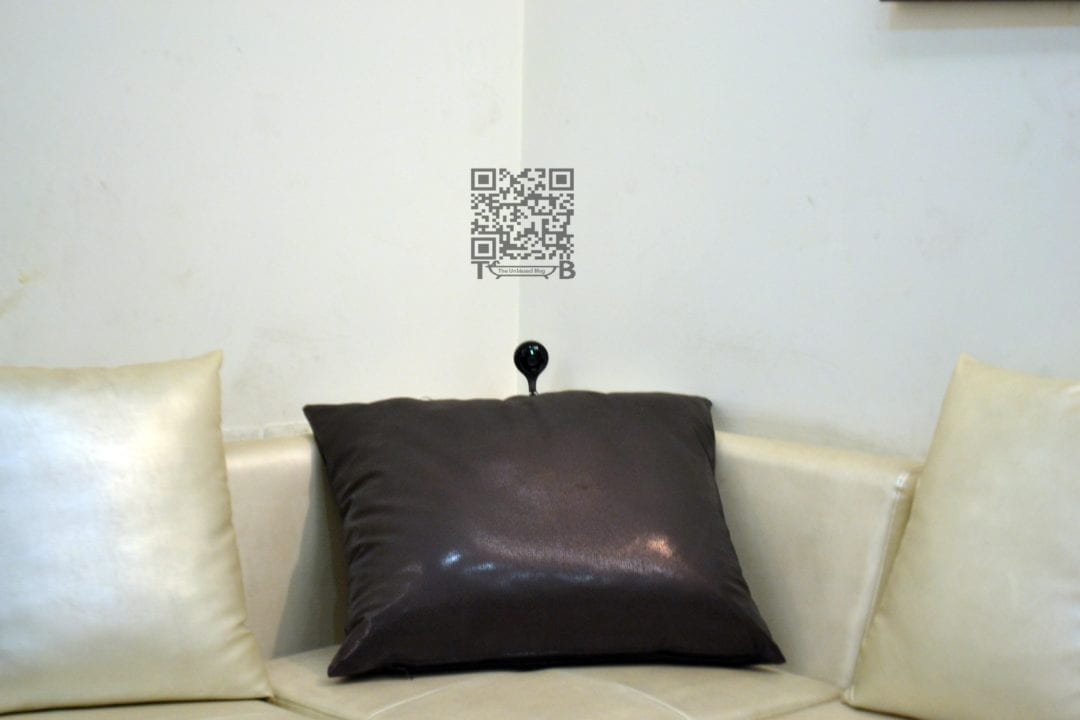
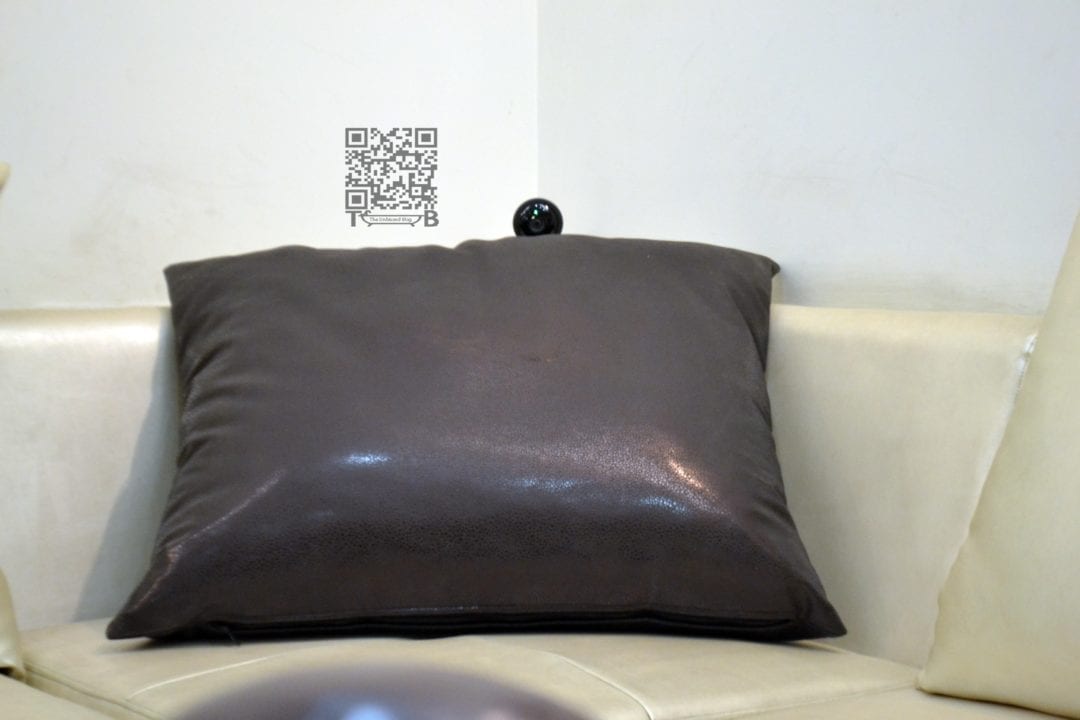
Also if you want to turn your Nest Cam into a Spy Camera then we would recommend you to check these out 😉 –

The Unbiased Verdict
We @theunbiasedblog recommend the Nest Cam as its a great camera with a streamlined app that provides easy access to your live feed, activity log and settings. If not for anything else buy it for the peace of mind that you get after installing it. The fact that its a DIY security camera with a lot of goodies like 1080 HD resolution, 2-way communication, Motion & Sound Alerts has got us sold. But then again as nothing is perfect we would like to point out the things that can make it even better proposition –
- Support for Apple HomeKit or Google’s Project Brillo
- Either lower down the pricing for Nest Aware or add a free basic plan
- Though it didn’t deter the performance but the camera was heating a lot so if something can be done about that
- Add email alerts or for that matter Tweet alerts if we had it our way 🙂


